|
|
Post by traud on Jun 9, 2011 8:20:33 GMT -5
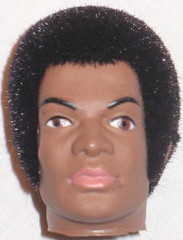
I think you can guess my opinion. I would always try to patch first at least if it fails or you're unhappy with the patch you can always reflock the whole thing or say reflock just the face hair if the head hair is good. Just beware that some vintage flock has be battered down so by now it's like a sponge. It'll soak up glue like a paper towel and many times cause stiff spots at the patch line. You may not see these lines after a good trim, but you'll feel them. You may be able to brush out some stiff spots at the hair/patch line with a super small amount of vinegar while the epoxy is still a bit gummy. It's a time thing really. If you can take the time (which could mean days depending on how bad), you can do it with perfect results. Time is always a factor for me so somewhere in the middle is usually where I end up. I use a three strikes method. If I can get the patch repair on a given head acceptable after three tries I'll do a full reflock. It's just the way it works out. In the pic is what I would most likely do after cleaning.  |
|
|
|
Post by traud on Jun 9, 2011 8:21:58 GMT -5
I have to expand on this a little. Now this tip works only if you are very meticulous and I've watched it done by my teacher (also know he charges by the hour for patch repairs and has no problem taking his time getting the patch perfect.) This all being said, with a 00 paint brush wet the brush with vinegar very lightly then lightly dampen the patch line. If done right (and I'm at about 50/50 stage at the moment), but if all goes well the glue line will be smooth because vinegar neutralizes epoxy. so if the vintage flock is weathered and acting like a sponge- the vinegar will prevent setup on the vintage flock which would cause a stiff area. The trick is in not getting any vinegar on the epoxy in the patch area. This is hard not to do. A small side comment. I have opened figures in the past that had stiff spots on them from the factory. My guess has always been that they were do to flock misses during production and then later they were patched at the factory (just a theory) or they could be drips in the vintage glue. I've seen and felt it the most on very early flocked heads (you know those because the flock was invincible, but they tend to have more misses or weak spots on them, and I've seen it on eagle eye heads here and there over the years. Anyway the reason I'm at 50%/50% at doing this is because it's very easy to use too much vinegar and it bleeds into the epoxy causing the flock patch to fail. It's a case of it doesn't look like you've wet the vintage hair line enough when really you did and you can't help but add just a touch more and that's too much... lol. You then say, "shit, >:(now I have to re-clean the area because the epoxy may not stick to the head." ...and so it goes.  |
|
|
|
Post by traud on Jun 9, 2011 8:35:03 GMT -5
Now that I have some time. I took a Joe that was in need of cleaning and repair, and started to work. Here is the before pic.  |
|
|
|
Post by traud on Jun 9, 2011 8:37:00 GMT -5
Here he is after a delinting...using the air hose and a face wash and a hair shampoo.  |
|
|
|
Post by traud on Jun 9, 2011 8:39:49 GMT -5
I thought he looked great until I noticed this! I'm not sure why people feel the need to cut and carve parts off the the heads? I have a few of them like this. More to come as I progress....  |
|
|
|
Post by rob1 on Jun 9, 2011 18:41:02 GMT -5
Some kid was playing with a sharp knife! I got a Land Adventurer that was in a fire. One side of the face is burned near the eye. I'm still trying to figure out what to do with it. Maybe it could be made into battle wound Joe? I was thinking of re-melting the area and painting it to look like a burn scar.
|
|
|
|
Post by traud on Jun 10, 2011 7:30:12 GMT -5
You can't see it in the pics, but he has several little divots over his head that have left bald spots and nicks. So he is getting the reflock for sure. I had to borrow an ear from another hacked up head that I got in a lot.
As for you burn guy...I'd try to make him into a Zombie. Sound like you have a great base to start from, and you can't really screw up a zombie head.
|
|
|
|
Post by traud on Jun 17, 2011 6:50:32 GMT -5
|
|
|
|
Post by traud on Jun 17, 2011 7:56:36 GMT -5
A little OT from the restoring the joe head, but here are some sideburns pictures I stumbled onto while I was looking for something else Here are some burns on some cast and painted heads of mine...keep in mind these were done a few years ago. The heads were cast in white then had to be painted. I painted them with a brush, I didn't have an air brush so they have a "Wooded Indian" look to them   |
|
|
|
Post by traud on Jul 4, 2011 16:39:22 GMT -5
Here are some flocks I did for a buddy of mine. 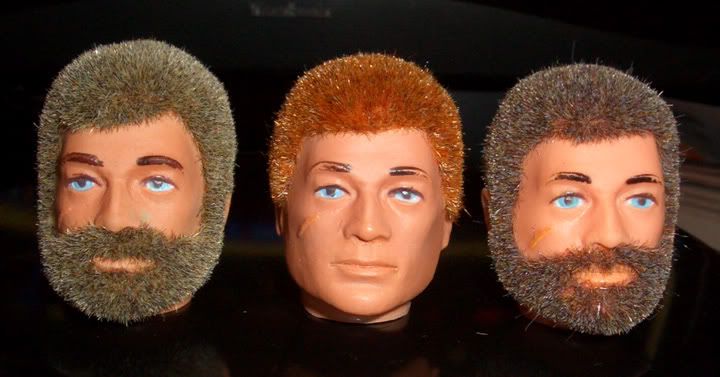 |
|
|
|
Post by traud on Jul 4, 2011 16:40:14 GMT -5
Set #2 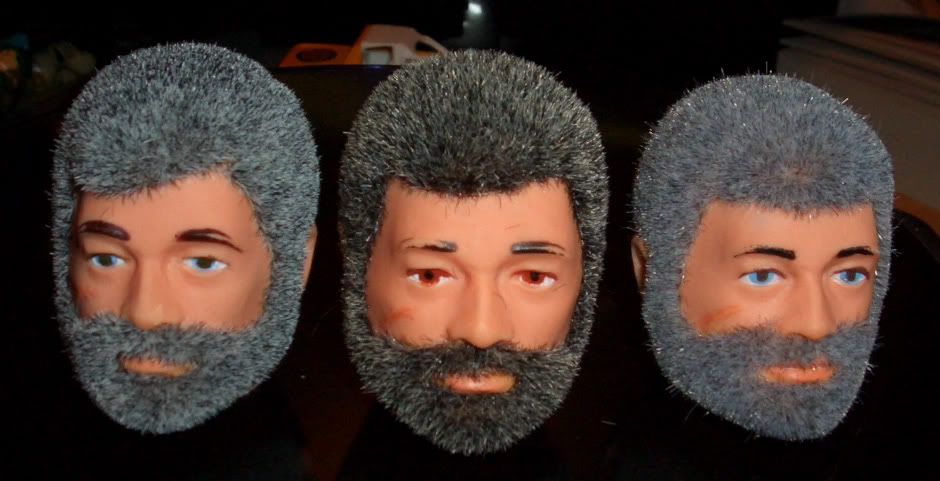 |
|
|
|
Post by traud on Jul 4, 2011 16:40:40 GMT -5
Set #3 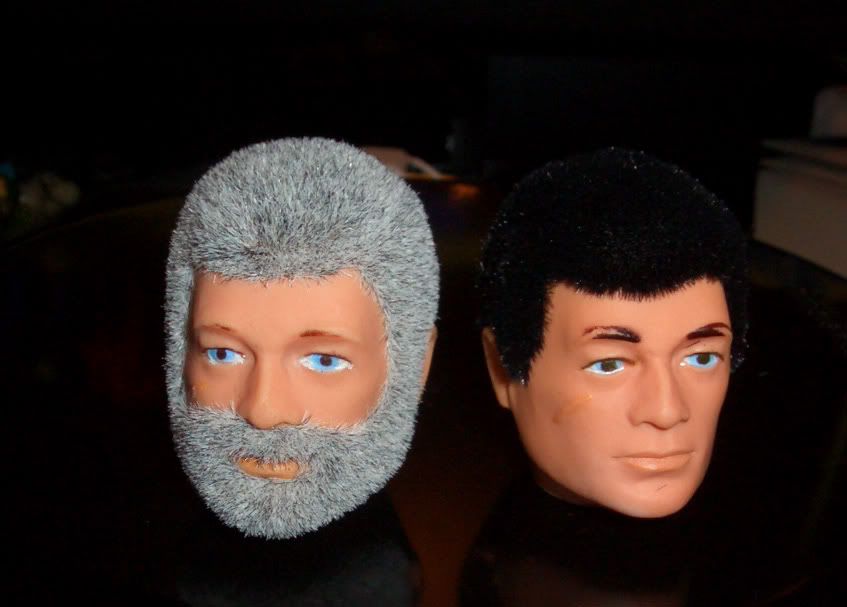 |
|
|
|
Post by traud on Jul 4, 2011 16:41:16 GMT -5
Set #4 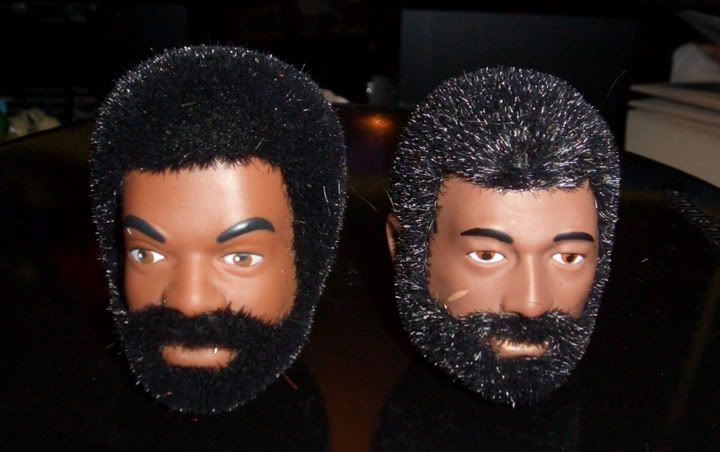 |
|
|
|
Post by traud on Jul 4, 2011 16:42:48 GMT -5
Set #5 Last but not least 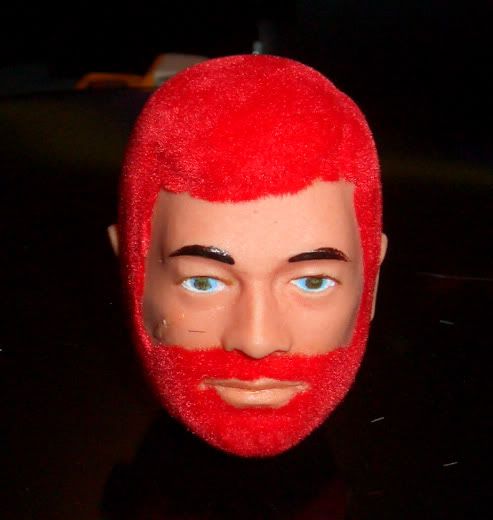 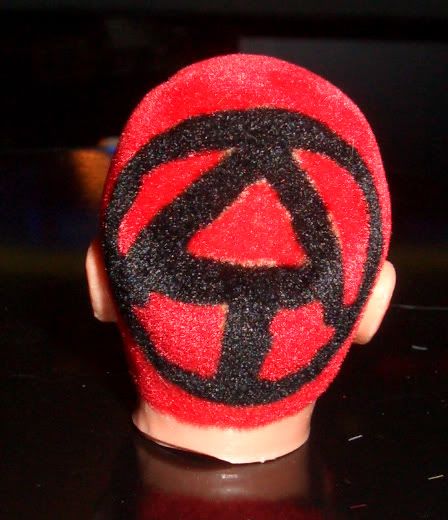 |
|
|
|
Post by Ray (Flock Man) on Jul 4, 2011 20:56:42 GMT -5
WOW! Nice save on the ear. Great Job on the reflocks. I guess flockers think alike. I too wondered about a Red with A.T. symbol on it. I just couldn't decide where to put it on the head. Awesome!
|
|
|
|
Post by rob1 on Jul 5, 2011 17:35:38 GMT -5
Nice job on everything! I was thinking about the AT logo as well. Nice to see one finished.
|
|
|
|
Post by traud on Jul 6, 2011 8:17:16 GMT -5
Thanks guys. Like you said Ray/Rob...great minds think alike.
The guy loved it...and the rest of them, of course.
|
|
outpost13
padawan Step 1
 Flock Concepts Member!
Posts: 41
|
Post by outpost13 on Jul 7, 2011 20:46:36 GMT -5
that last one..I never expected it.
then the back shot...wow!!
|
|
|
|
Post by traud on Jul 8, 2011 17:07:33 GMT -5
Thanks Ray, Rob & outpost. For that last head, to make it easier to do and more consistent I'm debating on template...?
|
|
monquegijoe
padawan Step 1
Flock Concepts Member!
Posts: 49
|
Post by monquegijoe on Jul 9, 2011 20:40:27 GMT -5
NIce work my friend.  |
|
|
|
Post by traud on Jul 14, 2011 7:18:22 GMT -5
Thanks guys. I have a friend that is working on a template to make the AT head easier to flock. I will keep you all in touch with how that works out.
|
|
outpost13
padawan Step 1
Flock Concepts Member!
Posts: 41
|
Post by outpost13 on Jul 25, 2011 22:33:46 GMT -5
I told my brother's about the the last head....& I never seen them go online so fast..LOL!!
|
|
|
|
Post by traud on Aug 1, 2011 17:58:14 GMT -5
Thanks Monquegijoe, outpost I hope your brothers liked it?
|
|
|
|
Post by traud on Aug 4, 2011 1:35:29 GMT -5
Here is a first attempt at putting a part in Joes hair. I just used a reflocked wally joe for this one. I don't think it turned out to bad.
|
|
|
|
Post by traud on Aug 4, 2011 1:38:53 GMT -5
Here is a Bionic man I did up...with a twist  |
|
|
|
Post by traud on Aug 4, 2011 1:39:25 GMT -5
Up close...  |
|
|
|
Post by traud on Aug 4, 2011 1:40:24 GMT -5
Now the twist....
|
|
|
|
Post by traud on Oct 25, 2011 15:21:18 GMT -5
Now that I have my new KFG hands I made a mold and cast some wrist pegs...so now I can complete some missing Joes. I have a friend in the US that I use as a guinea pig for my casting, flocking and what not. So I sent him some wrist pegs to try out and let me know how they hold up. Here are a couple of pics. 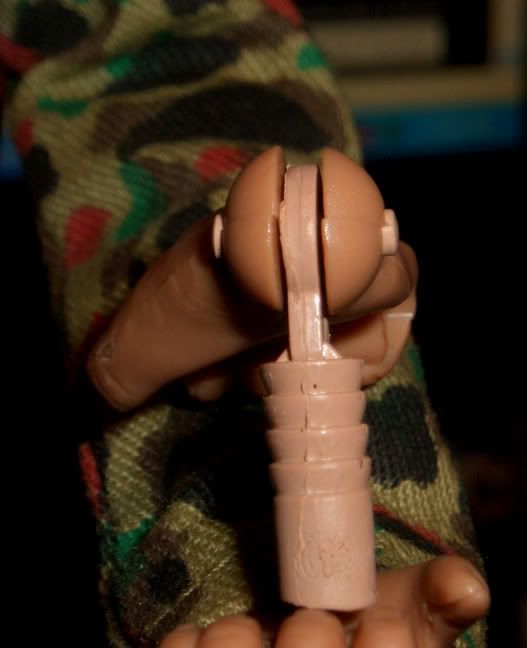 |
|
|
|
Post by traud on Oct 25, 2011 15:22:23 GMT -5
Here is another pic of the peg itself. BTW these fit the new KFG hands great, I just don't have a pic on hand to post. 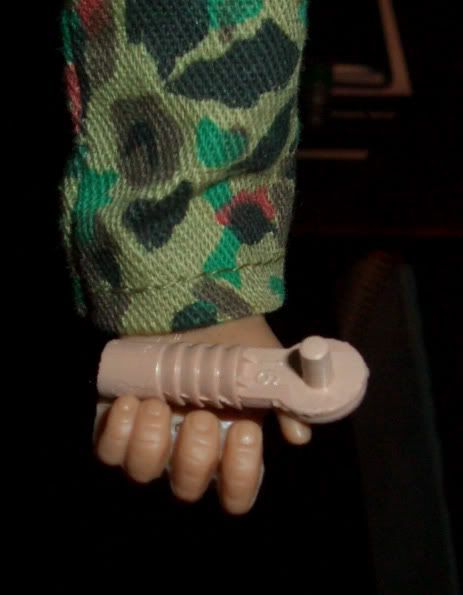 |
|
|
|
Post by Ray (Flock Man) on Oct 26, 2011 20:57:54 GMT -5
They look awesome man. They look pretty solid, plus I know the vintage pegs tend to snap easy. I end up with them snapped off here and there
|
|